Showing posts with label Mods. Show all posts

Sunday, January 2, 2011

General Tricks

Here are some simple tricks that help me out when I'm modding and cleaning my models. If you're like me, you don't have great access to a lot of specific tools. So in many cases I make my own or use what I have in different ways.

1) Poor Man's Sanding Pad:

I have a nice set of files and some different grain sand papers. But sometimes I sort of need something in the middle. I like how the files have an edge so I can get right up against something but they can be too rough and sometimes scrape away more then I want. Sand paper is great for cleaning and polishing surfaces but doesn't have a edge for tight spaces. So I came up with a solution. Just take a thin strip of scrap pla plate and fold your sand paper around it. This will give you a good balance of precision and scraping power for cleaning tight areas. The great thing about it, is you can cut and shape the pla plate that you have the sand paper wrapped around to be thinner or thicker so it fits you specific needs. And that's the Poor Mans Sanding Pad.


2) Pla Pipe Cutting Without a Pipe Cutter

Some of the thicker pla pipes can become a bit sloppy if you simply try to cut through them with your side cutters. It will cut through just fine but the pressure applied will cause the edge you're cutting to warp. You'll end up with one end shaped like an oval instead of a circle. To some modelers this isn't that big a deal. But, I got tired of trying to reshape the ends of the pipes after cutting them. So I came up with this solution. After you mark where you want to cut the pipe. Take you side cutters and put the on the line like you're about to cut through it. Then add slight pressure with the side cutters as you start to turn the pipe. Continue to increase the pressure with the side cutters until the pipe is scored enough to break off or it falls off on it's own. You might have to sand the edges but the end of the pipe should be nice a circular.


Stay tuned, more to come....


------------------------------------------------------------------------------------------------

Wednesday, December 29, 2010

Zeong Bear Chapter 2

PREVIOUS CHAPTER

I'm making decent progress on certain areas as far as modding goes. I got some nice piping detail on the fuel tanks. It was as easy as stabbing a hole in the sharpie and then inserting some pla tubes.


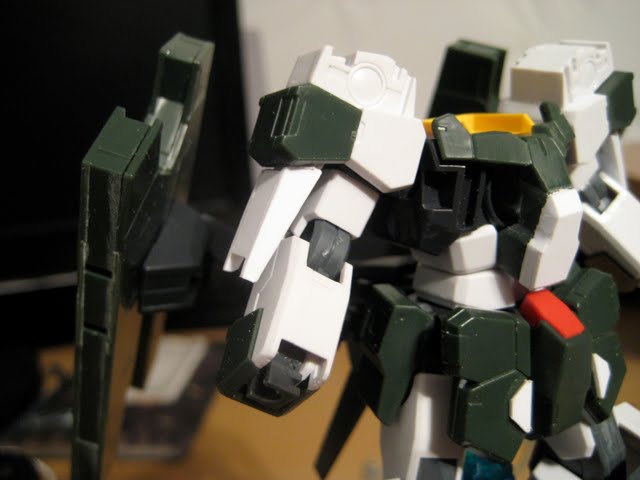
I did some more Armor Trimming on the forearms too. Still need to clean it up a bit but yo uget the idea.


I also started another little project too. Can you guess what these are going to be?


If you guessed scratch built back pack you are correct. I'm only going to show little bits here and there of the back pack build cause for one I'm not sure if I'll get it done and two, I'd like to make a tutorial from it once the project is done. I got a lot of inspiration and ideas from a blogger named Funakatown who has some great scratch built stuff: FUNAKATOWN. Here's something to give you an idea of what it will look like.


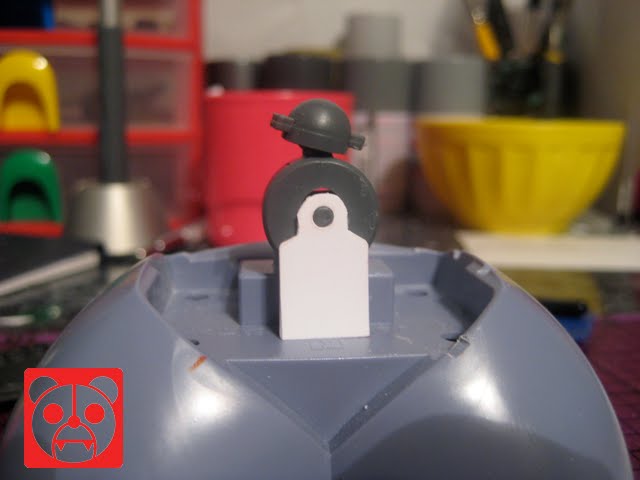
Although it's a bit ambitious for me, I also started working on bettering the articulation in the torso. Hopefully with what I do, it should be able to turn and lean from side to side. Because I'm not afraid to use parts from my other models, I tore the ankle of the 00 Raiser apart and that is what will be used for the motion. Then I cut some strips from the black part so the mounts could fit and the black part could come out for painting and such.


Lastly, I started to look at paints and settled on three. They're pretty simple, plus I have some left over grey paint from the Z2 Zabanya to use too.


Thanks for dropping by!


NEXT CHAPTER

Monday, December 6, 2010

Zabanya Saga Wip Chapter 5

PREVIOUS CHAPTER

I finally got some of the parts and things I have been waiting for. I got my paints and some pla tubes and sheets. But, the putty was what I was really waiting for to touch up some pieces like the should bits and toes. Not a whole lot of progress from my last post but I should be able to prime sometime this week. The only major thing I have left is the guns on the shield bits but I'm not too sure how I want to make em....


NEXT CHAPTER

Friday, November 26, 2010

Zabanya Saga Wip Chapter 2

PREVIOUS CHAPTER

I did a lot of relaxing yesterday and was able to make a decent amount of progress on the model. Got the pieces under the shoulder pretty much finished added some other random pla plates on some other parts.

As you can see, I added the sides on to these pieces after I shortened them a bit. I made the sides long so that I'd be able to trim them down and smooth the edge, but I like the way they look longer then the rest of the piece so I decided to keep them as such.


Afterwords, I added another piece of pla to fill in the void on top. Then after some filing and sanding I got these.


Here I added some pla on the front skirts like I did with the back. They were lookin kinda flat and I wanted add some depth to them.


I also shaved some off the "toe claws" cause I wasn't really liking them. I still need to do some more modding to them but for now this enough. I also sanded down the top rear thruster so I could add some after mark rockets or what have you.


Lastly, I wanted to assemble the majority of the parts to check out what it will look like.


NEXT CHAPTER
Related Posts Plugin for WordPress, Blogger...